I love the look of something old and worn, so in many of my projects I’ve wondered how to get that “aged” look on my projects without making them look trashy. This led to my experimenting with different methods to get that worn paint look. This method is very simple and uses just glue and paint to achieve that old age cracked paint look.

Plain Wood Underneath Stain Underneath


What Does It Take To Get This Look?
You wont believe how incredibly easy this is but I would suggest you test on a few sample pieces of wood to make sure you are getting the look you want before applying to your final piece. I’ve experimented with just having the natural wood underneath the paint and having a layer of paint as the undercoat. I personally like the look of the paint underneath because it gives it more character. To complete this look you will need:
Materials:
- Wood Glue
- Paint Brush
- Paint of Choice
- Wood Stain
- Rags
Let’s Do It!:
Wipe Down any wood you are planning on staining. Apply stain with a rag, making sure to wipe down any excess. Let dry according to manufacturer’s directions. Once dry, paint a layer of glue onto the wood. You don’t want the glue to be too think but this is something you can play with to see the texture you like. Just keep in mind the thicker the glue, the longer it takes to dry. Wait about 5 minutes for glue to become tacky. Apply paint over the glue, being careful not to scrape the glue (I usually apply a lot of paint to the brush and lightly pull it over the glue). What’s going to happen is as the glue dries, it’s going to contract, pulling the paint with it, giving you that great aged look.
Want More Age?
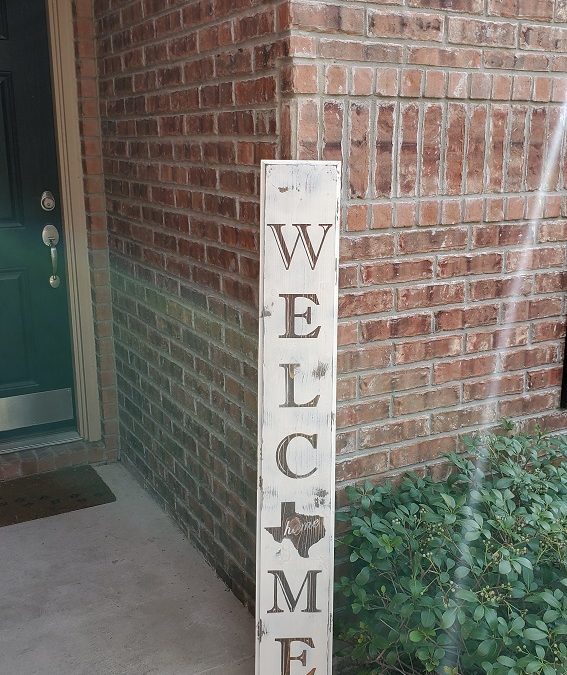
The nice things about aging paint is that there a numerous methods to achieve the look. Well guess what? You can mix and match methods which I love to do all the time. So if you want even more age on your piece, you can gently wipe stain over your piece and wipe off as much as you can, that will help define edges and exposed wood underneath. That was done in this piece (the Vaseline method was used to achieve the chippy paint look in the picture below ):

So cool, right? You can also gently sand edges to add even more layers. The best part of aging your pieces is if you don’t like the results, you can always sand it down and start over, allowing you to really experiment with what technique you like the best.
Have you tried this method? Great! We would love to see the results! Leave a picture in the comment section below, we love to see how creative you are!
| Disclaimer: Please make sure with all your projects that you have read your equipment’s safety manual and are following the recommended safety precautions. We are not responsible for the results of your DIY projects as results can vary based on your skill level, quality of materials, and age of your equipment. |