This has been by far my favorite build to date and is going to completely transform the way I garden moving forward. This Do It Yourself Sub Irrigated (or Self Watering) Raised Cedar Garden Bed is designed to not only be functional but absolutely gorgeous to look at! And who doesn’t love when style and function come together perfectly?
SIP stands for Sub-Irrigated Planter. This is a generic term that covers container gardening where the water is given to your plants from underneath instead of above. This allows your plant to gain their water needs through capillary action. While there are many commercial uses for SIP systems, home gardeners can also enjoy the benefits of lower maintenance gardening! Since water is being stored underneath the plant, not only are you watering less (by simply filling the water reservoir) but less water is getting wasted trying to ensure your plant’s soil is evenly moist1. Some call it self watering because the rain water is collected into the reservoir to reduce needing to hand fill it.
There are 3 main ways a SIP system can work to deliver the necessary water to your plants. Some systems use battery operated drip systems that pull from a water reservoir, wicking where water is pulled through some type of “wick”, commonly a cotton rope, to deliver the necessary water, or through air & water2. This bed uses air and water to make sure the plants get the water they need. The overflow tubes are installed to leave about 1″ of air in the drain pipes, allowing a barrier between the water and the soil. Just surrounding the drain pipes there is a special soil mixture that allows extra water absorption that allows the water to easily be absorbed up to the plants. This will provide a consistent level of moisture to the plants, which honestly is impossible to achieve when watering by hand. Pretty cool, right?
So what makes me love this specific elevated planter so much compared to other beds? Here’s just a couple reasons:

At first glance this woodworking plan may seem a little overwhelming but I promise it will come together quickly and you will love the end result. This bed is broken into 3 main components: building the bed, installing the sub-irrigation system, and adding the soil/planting. The first component by far takes the longest, but once it’s done you’ll be so happy you invested the time up front for years of low maintenance gardening!
$118.74$112.49
 07/19/2026 04:00 am GMT
$19.99$16.99
$13.99$12.11
07/19/2026 03:03 am GMT
This bed uses 2 different soil mixtures to make it work: 1 for around the drain pipes for wicking power and 1 for above the drain pipes. While I give exact amounts in the woodworking plan, I think it’s important to know the ratios and rational to each soil component so you can build a bed with different dimensions3.
Drain Pipe Soil Mixture:
Above Drain Pipe:
Huge shout out to Albopepper for their insane knowledge of SIP raised beds. I went through hours and hours of videos and articles when designing this bed and I found their information not only informative, but also easy to understand. Al was great at helping me get the perfect combination of soils for around the drain pipes to make this bed a huge success! Check them out if you want some more in depth knowledge of SIP beds prior to building this one: http://albopepper.com
What is a SIP & How Does This Garden Bed Work?
SIP stands for Sub-Irrigated Planter. This is a generic term that covers container gardening where the water is given to your plants from underneath instead of above. This allows your plant to gain their water needs through capillary action. While there are many commercial uses for SIP systems, home gardeners can also enjoy the benefits of lower maintenance gardening! Since water is being stored underneath the plant, not only are you watering less (by simply filling the water reservoir) but less water is getting wasted trying to ensure your plant’s soil is evenly moist1. Some call it self watering because the rain water is collected into the reservoir to reduce needing to hand fill it.
There are 3 main ways a SIP system can work to deliver the necessary water to your plants. Some systems use battery operated drip systems that pull from a water reservoir, wicking where water is pulled through some type of “wick”, commonly a cotton rope, to deliver the necessary water, or through air & water2. This bed uses air and water to make sure the plants get the water they need. The overflow tubes are installed to leave about 1″ of air in the drain pipes, allowing a barrier between the water and the soil. Just surrounding the drain pipes there is a special soil mixture that allows extra water absorption that allows the water to easily be absorbed up to the plants. This will provide a consistent level of moisture to the plants, which honestly is impossible to achieve when watering by hand. Pretty cool, right?
So Why Make This Bed?
So what makes me love this specific elevated planter so much compared to other beds? Here’s just a couple reasons:
- It’s made of cedar boards and sealed with spar-urethane, making it have the potential to last for 20 or more years. Just make sure to get a high quality pond liner with a long warranty like the one I used here that has a 20-year limited manufacturer’s warranty. So while you will be spending a little more upfront for materials compared to pine or white-wood, the finished product will last you years and years, making the annual cost minimal.
- It is build with a sub-irrigated system that you refill with a hands free PVC fill tube. What does this mean? Instead of watering your garden constantly, this bed holds about 3.5″ of water at the bottom that gets pulled up into the soil as the plants need it. So if it rains in your area, the water reservoir will collect that water since the top isn’t sealed and if not then all you need to do is put the hose in the fill tube and let it run while you admire your garden or spend some time pruning and weeding. This bed also has 2 drain tubes so if you do get heavy rain or distracted while filling up the reservoir, you don’t need to worry about your plants getting root rot because the excess water will drain out!
- This bed is the perfect height not not have to bend down to plant or weed (though weeds will be minimal since it is raised) or strain to prune taller plants. It’s also raised off the ground enough that you don’t need to worry about animals interfering with your crops (here I have terrible problems with rabbits in my garden but they are too cute to get upset with).
- I’ve designed the perfect fold down side shelf for this bed to use while harvesting or planting, or just to put your coffee down while you work on your garden. The perfect way to save space but still have a resting place for all your tools when you need them.
- This plan is completely customizable for you! I built a 2’x6′ bed for my tomatoes, but you can easily modify this to your liking.
- You don’t need a ton of tools to complete this bed or a professional workspace. In this plan I will walk you through the tools I used to build mine but also give you alternatives where applicable so you aren’t breaking the bank on this build. So in the tools section if you see the word optional next to it, make sure to check the instructions before running out to buy anything.
The DIY Sub-Irrigated (Self Watering) Raised Cedar Garden Planter Woodworking Plan:


At first glance this woodworking plan may seem a little overwhelming but I promise it will come together quickly and you will love the end result. This bed is broken into 3 main components: building the bed, installing the sub-irrigation system, and adding the soil/planting. The first component by far takes the longest, but once it’s done you’ll be so happy you invested the time up front for years of low maintenance gardening!
Download Your Free Woodworking Plan:
Non-Wood Materials List (Updated):
Please note the wood cut list is in the free woodworking plan listed above.
| Product Name / Product Image / Primary Button / Price | Material Type / Quantity Needed / Notes |
|---|---|
|
Recommended
|
|
|
Recommended
|
|
|
Recommended
|
|
|
Recommended
|
|
|
Recommended
|
|
|
Recommended
|
|
|
Recommended
|
|
|
Recommended
|
|
|
Recommended
|
|
|
Recommended
|
|
Recommended

Material Type:
Pond Liner
Quantity Needed:
At least 115" x 70"
Notes:
Choose a durable, flexible liner that’s easy to cut and shape; look for at least a 20 mil thickness for optimal durability & leak prevention.
Recommended
$21.78
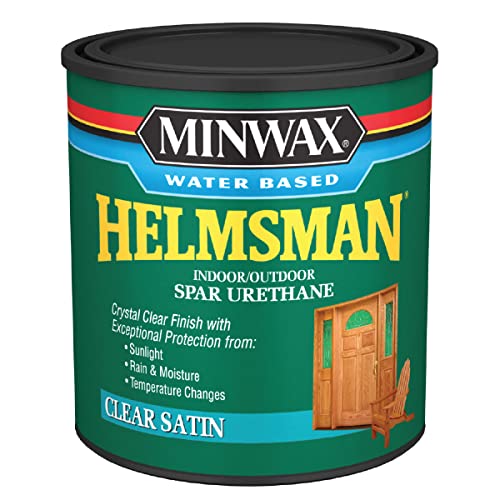
Material Type:
Outdoor Wood Sealant
Quantity Needed:
At least 1 quart
Notes:
Choose exterior-grade with UV protection; satin finish recommended.
Recommended
$8.99
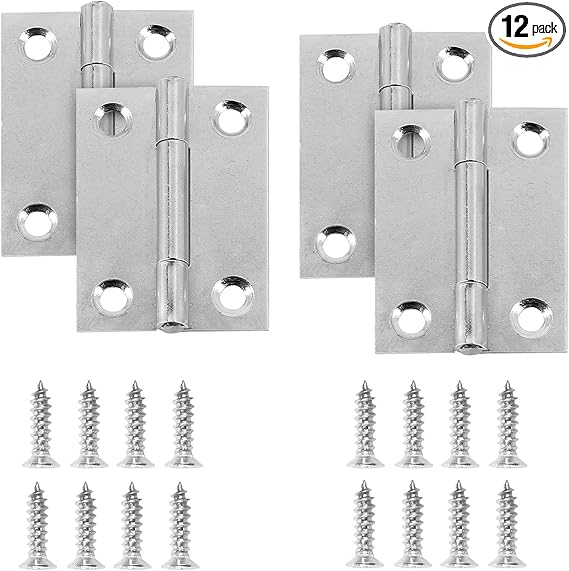
Material Type:
Outdoor Butt Hinge
Quantity Needed:
6
Notes:
Opt for rust-resistant (stainless steel or brass); 2 to 3-inch size recommended.
Recommended
$45.98
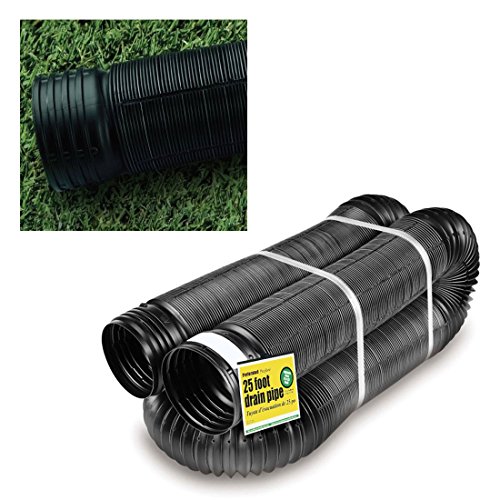
Material Type:
Perforated Pipe
Quantity Needed:
16' long x 4" wide
Notes:
Flexible, 4-inch drainage pipe with evenly spaced holes; corrugated type preferred.
Recommended

$25.74
Material Type:
Drain Cover Sleeve
Quantity Needed:
16' long x 4" wide
Notes:
Geotextile fabric sleeve; prevents soil entry and clogging.
Recommended

$7.95
Material Type:
1/2" PVC Pipe
Quantity Needed:
6" in length
Notes:
Rigid pipe used for overflow drainage
Recommended

$27.96
Material Type:
Exterior Wood Screws
Quantity Needed:
Varies
Notes:
Weather-resistant coating prevents rust; ideal for cedar.
Recommended
$9.20
Material Type:
1 1/2″ to 3″ Pipe Increaser
Quantity Needed:
1
Notes:
Used on top of 1.5" PVC pipe for easy reservoir refill.
Recommended

$9.84
Material Type:
Waterproof Caulk & Seal Silicone Sealant
Quantity Needed:
1 Tube
Notes:
Used to seal the overflow PVC pipes to avoid leaks.
Recommended

$19.95
Material Type:
1 1/2″ PVC Pipe
Quantity Needed:
21" in length
Notes:
Runs to the water reservoir for manual filling when necessary.
Recommended Soil Materials & Quantities
| Product Name / Product Image / Primary Button / Price | Material Type / Quantity Needed / Notes |
|---|---|
|
Recommended
|
|
|
Recommended
|
|
|
Recommended
|
|
|
Recommended
|
|
|
Recommended
|
|
|
Recommended
|
|
|
Recommended
|
|
|
Recommended
|
|
Recommended

$71.99
Material Type:
Peat Moss
Quantity Needed:
1.5 Cubic Feet
Notes:
Improves water retention, aeration, and slightly acidifies the soil, creating an ideal environment for plant roots in raised garden beds. You can substitute with Coco Coir
Recommended

Material Type:
Coconut Coir
Quantity Needed:
1.5 Cubic Feet
Notes:
Use instead of peat moss or a mix with peat moss up to 1.5 cubic feet. Coconut coir enhances water retention, promotes aeration, and provides an eco-friendly growing medium in raised garden beds.
Recommended

$17.68
Material Type:
Vermiculite
Quantity Needed:
0.5 cubic feet
Notes:
Helps improve moisture retention, aeration, and drainage in raised garden beds, supporting healthier plant growth.
Recommended

$18.99
Material Type:
Perlite
Quantity Needed:
0.75 cubic feet
Notes:
Improves drainage, increases soil aeration, and prevents compaction, promoting healthy root development in raised garden beds.
Recommended
$87.34
Material Type:
Moisture Control Potting Soil
Quantity Needed:
2 cubic feet
Notes:
Helps regulate water retention, preventing both overwatering and drying out, providing consistent moisture for healthier plants in raised garden beds.
Recommended

$21.99
Material Type:
High Quality Potting Soil
Quantity Needed:
2 cubic feet
Notes:
Provides essential nutrients, supports healthy root growth, and ensures proper moisture retention and drainage in raised garden beds.
Recommended

$44.99
Material Type:
Pine Bark Mulch
Quantity Needed:
1.5 cubic feet plus additional for top of the bed to protect the soil.
Notes:
Conserves moisture, regulates soil temperature, suppresses weeds, and gradually enriches soil as it decomposes in raised garden beds.
Recommended

Material Type:
Fertilizer
Quantity Needed:
Optional
Notes:
Optional – Mix in based on specific fertilizer directions
Self Watering Bed Soil Mixture:
This bed uses 2 different soil mixtures to make it work: 1 for around the drain pipes for wicking power and 1 for above the drain pipes. While I give exact amounts in the woodworking plan, I think it’s important to know the ratios and rational to each soil component so you can build a bed with different dimensions3.
Drain Pipe Soil Mixture:
- 3 Parts Peat Moss: Highly absorbent material that can hold it’s weight in moisture several times over. Be careful not to overdue it with this since it does have an acidic pH.
- 1 Part Vermiculite: The perfect soil amendment to help with aeration. It is light weight, non-toxic, and will not rot or deteriorate. Vermiculite helps increase water and nutrient retention.
- 1 Part Perlite: Allows water retention like vermiculite, but also allows water to drain more easily. It helps with improving soil aeration and prevents soil compaction4.
Above Drain Pipe:
- 2 cu ft Moisture Control Potting Soil
- 2 cu ft Potting Soil
- 1 1/2 cu ft Pine Bark Mulch (plus extra for top of garden bed if wanted)
- 2 gallons Perlite
- Fertilizer if desired
Huge shout out to Albopepper for their insane knowledge of SIP raised beds. I went through hours and hours of videos and articles when designing this bed and I found their information not only informative, but also easy to understand. Al was great at helping me get the perfect combination of soils for around the drain pipes to make this bed a huge success! Check them out if you want some more in depth knowledge of SIP beds prior to building this one: http://albopepper.com
References:
- Sub-irrigated planter. (2019, July 20). Retrieved from https://en.wikipedia.org/wiki/Sub-irrigated_planter
- Clayton, T. (2019, July 9). S.I.P. Gardening: Self Irrigating Planters. Retrieved from https://gardenculturemagazine.com/s-p-gardening-self-irrigating-planters/
- Self-watering SIP Sub-irrigated Raised Bed Construction. Retrieved from http://albopepper.com/SIP-raised-bed.php
- Information About Soil, Fixes & Fertilizers. (n.d.). Retrieved from https://www.gardeningknowhow.com/garden-how-to/soil-fertilizers